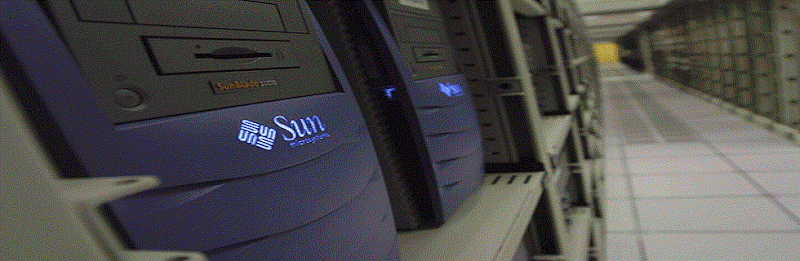
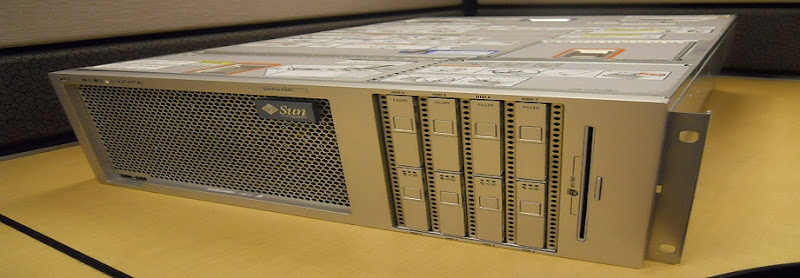
Oracle Solaris 10 8/11 System Requirements:
Component
|
Requirement
|
Disk
|
6GB minimum for typical installation
Required disk space will vary based on OS packages selected, desktop or server use, desired swap and temporary space, localizations/translations
|
Memory
|
1.5GB
|
Supported Platforms
|
Oracle and Sun SPARC and x86 systems, Fujitsu SPARC64 systems. See the Hardware Compatibility List for non-Oracle x86 systems.
|
|
By assuming sever don’t have graphic adapter (VGA):
It’s having console management with Ethernet port, so we can use that for We need one Ethernet to RS232 cable to remote this machine using HyperTerminal.
(Console-mode installation is text-based method of executing the Oracle Installation programs with non-graphical consoles. Console mode installation offers the same capabilities as GUI based installation.)
· Determine the host name of the system you are installing
· Determine the language and locales you intend to use on the system
· If you intend to include the system in a network, gather the following information:
Host IP address and Subnet mask
Host name of server
Type of name service (DNS, NIS, or NIS+, for example)
Domain name
Host IP address of the name server
Enable DHCP service
We are going to install via Hyper Terminal. Follow the steps below:
1. Make sure you have proper Ethernet to RS232 cable and PC/Laptop with RS232 connector (otherwise you can use RS232 to USB converter)
TY serial port: Use the DB-9 connector with a null modem cable for serial devices. This port appears as ttya in Solaris OS and OpenBoot messages. This port is not connected to the service processor serial management port. [1]
[1](References: Sun SPARC Enterprise T5120 and T5220 Servers Installation Guide)
Ensure that the serial port on your connecting device is set to the following parameters:
· 9600 baud
· 8 bits
· No parity
· 1 stop bit
· No handshaking
2. Connect the cable to the management port on Server and other end to the RS232 connector on PC/laptop
3. Turn on the Server; turn on HyperTerminal on PC/Laptop.
4. While the HyperTerminal connecting to the machine, insert Solaris 10 installation DVD to Server DVD-ROM.
5. After HyperTerminal successfully connect to Server press ctrl+break
On a PC, this is done by holding down the CTRL key and tapping the "Break" key (Pause/Break on most PC keyboards).
(Or try to sends break via "~#”)
6. It will go to “OK” prompt (will look like: OK>).
7. Enter OK>: boot cdrom command for rebooting the machine and start installation with DVD.
(Wait until system reboot and goes to boot sequence CDROM.)
8. Then Follow the installation instruction step by step.
01: The Solaris Installation Program
Solaris Installation Welcome screen will appear.
Hit F2 to continue
02: Identify This System
This screen informs you about how you will need to identify the computer as it applies to network connectivity.
Hit F2 to continue
03: Network Connectivity
Hit F2 to continue
04: DHCP
Hit F2 to continue
05: Host Name for igb0
Enter the host name (which will identify this system on the network).
Example “solaris4servers".
06: IP Address for igb0
Enter Internet Protocol (IP) address for igb0 network interface.
07: Subnet for igb0
On this screen you must specify whether this system is part of a subnet. For this example, this interface will be part of a subnet.
08: Netmask for igb0
09: IPv6 for igb0
In this I’m not going to use IPv6.
10: Set the Default Route for igb0
I will manually add the IP address of my Default Route address.
11: Default Route IP Address for igb0
12: Confirm Information for eri0
This is a confirmation screen. Verify all data is correct.
13: Configure Security Policy
14: Confirm Information
15: Name Service
16: Domain Name
17: DNS Server Addresses
18: DNS Search List
19: Confirm Information
This is a confirmation screen. Verify all data is correct.
20: Time Zone
21: Country or Region
22: Time Zone
23: Date and Time
24: Confirm Information
This is a confirmation screen. Verify all data is correct.
25: Solaris Interactive Installation
There are two ways to install your Solaris software: "Standard" or “Flash". Choose the "Standard" method (F2_Standard).
Hit F2 to continue
26: Eject a CD/DVD Automatically?
During the installation of Solaris software, you may be using one or more CDs/DVDs.
You can choose to have the system eject each CD/DVD automatically after it is installed or you can choose to manually eject each CD/DVD.
27: Reboot After Installation?
After Solaris software is installed, the system must be rebooted. You can choose to have the system automatically reboot, or you can choose to manually reboot the system if you want to run scripts or do other customizations before the reboot. You can manually reboot a system by using the reboot (1M) command.
28: Solaris Interactive Installation
This screen recognizes if a previous version of Solaris is installed and whether you would like to upgrade or not. Always select the install option (F4_Initial).
Hit F4 to continue
29: Initializing
The system is being initialized.
Loading install media please wait...
30: License
Read through the software license agreement.
Hit F2 to accept the license and continue
31: Select Geographic Regions
32: Select System Locale
33: Select Products
34: Additional Products
To scan for additional products, select the location you wish to scan.
35: Select Software
36: Select Disks
You must select the disks for installing Solaris software. If there are several disks available usually install the Solaris software on the boot disk c0t0d0.
Generally select F4 to edit the c0t0d0 disk to ensure that the root directory is going to be located on this disk.
Select F4 to select boot device to ensure the root file system will be located on slice zero, c0t0d0s0.
37: Reconfigure EEPROM?
Do you want to update the system's hardware (EEPROM) to always boot from c0t0d0?
Hit F2 to Reconfigure EEPROM and Continue
38: Preserve Data?
Do you want to preserve existing data? At least one of the disks you've selected for installing Solaris software has file systems or unnamed slices that you may want to save.
Hit F2 to continue
39: Automatically Layout File Systems?
Do you want to use auto-layout to automatically layout file systems? Manually laying out file systems requires advanced system administration skills.
Typically perform an "Auto" File System Layout (F2_Auto Layout).
Hit F2 to Perform Auto Layout.
40: Automatically Layout File Systems
On this screen you must select all the file systems you want auto-layout to create, or accept the default file systems shown.
41: File System and Disk Layout
The summary below is your current file system and disk layout, based on the information you've supplied.
NOTE: If you choose to customize, you should understand file systems, their intended purpose on the disk, and how changing them may affect the operation of the system.
This is what the File System and Disk Layout screen looks like now.
42: Mount Remote File Systems?
Do you want to mount software from a remote file server? This may be necessary if you had to remove software because of disk space problems.
Hit F2 to continue
43: Profile
This is a confirmation screen. Verify all data is correct.
44: Initial Installation Progress
Afterwards it starts configuring disks, making partitions, and installing software indicating the progress.
Preparing system for Solaris install……………
If you are Installing with multiple CD pack after 1st CD it will ask next for continue the installation process
It will seams like this:
Please specify the media from which you will install Solaris 10 Software 2
for
SPARC Platforms.
Alternatively, choose the selection for "Skip" to skip this disc and go on to
the next one.
Media:
1. CD/DVD
2. Network File System
3. Skip
Media [1]: 1
Please insert the CD/DVD for Solaris 10 Software 2 for SPARC Platforms.
After you insert the disc, please press Enter.
...........
Product: Solaris 10 packages (part 2)
Location: /
Size: 887.16 MB
-------------------------------------Solaris 10 packages (part 2) 887.16 MB
Ready to Install
1. Install Now
2. Start Over
3. Exit Installation
What would you like to do [1]? 1
..............
(reference:http://www.idevelopment.info/)